HOW TO CUT AND STYLE BABY HAIRS WITH A BLACK LACE FRONT WIG

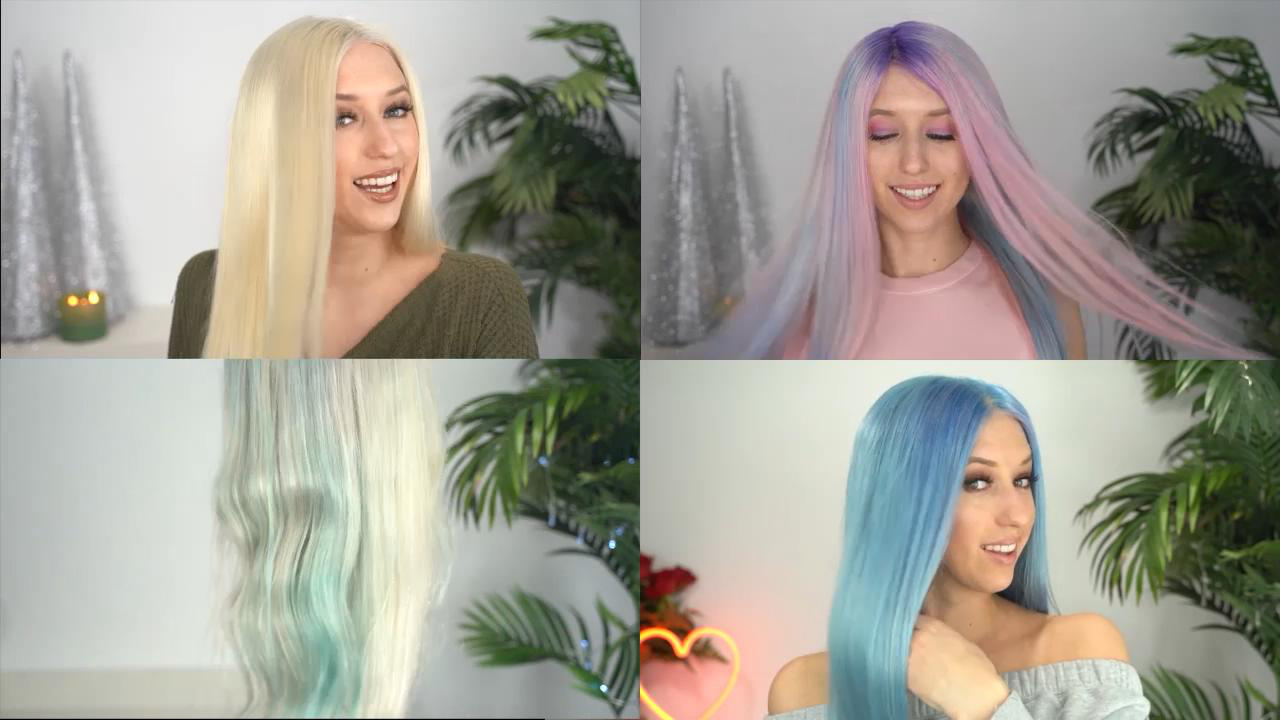
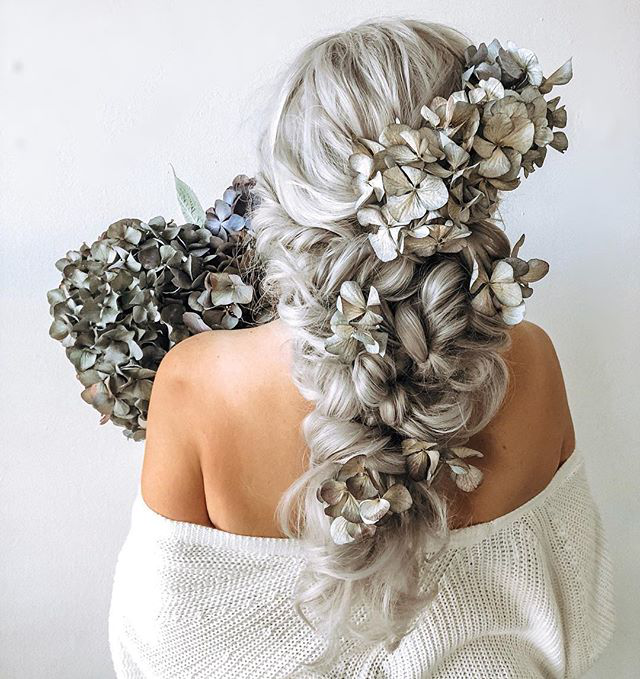
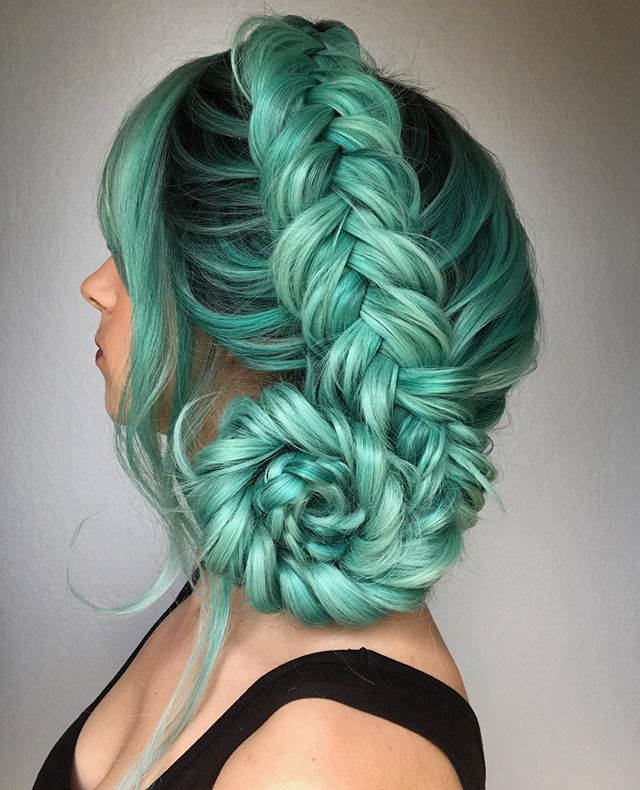
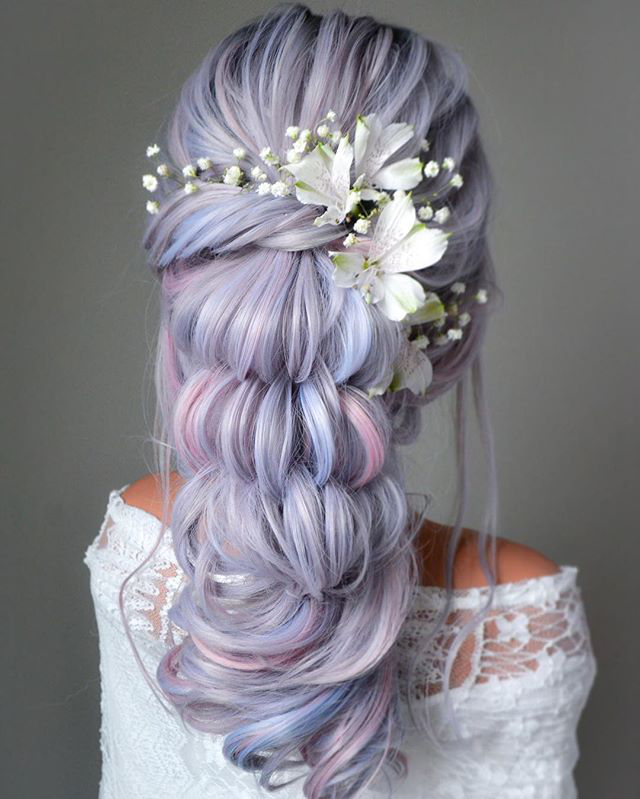
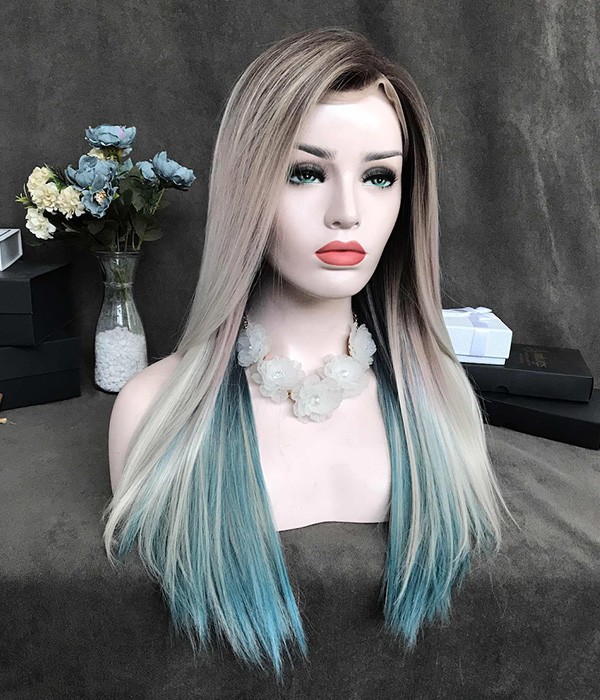
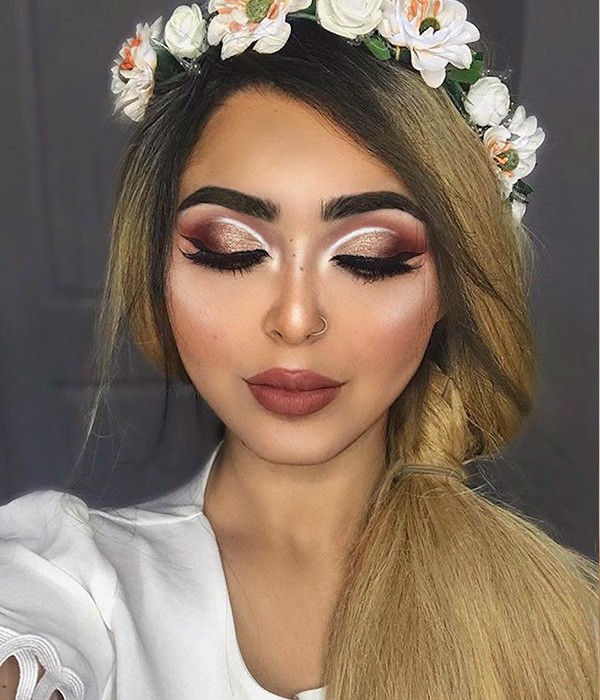
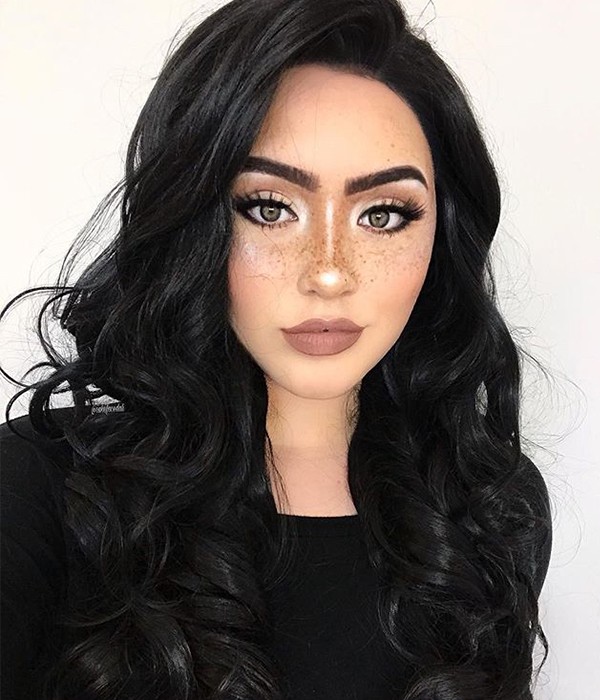
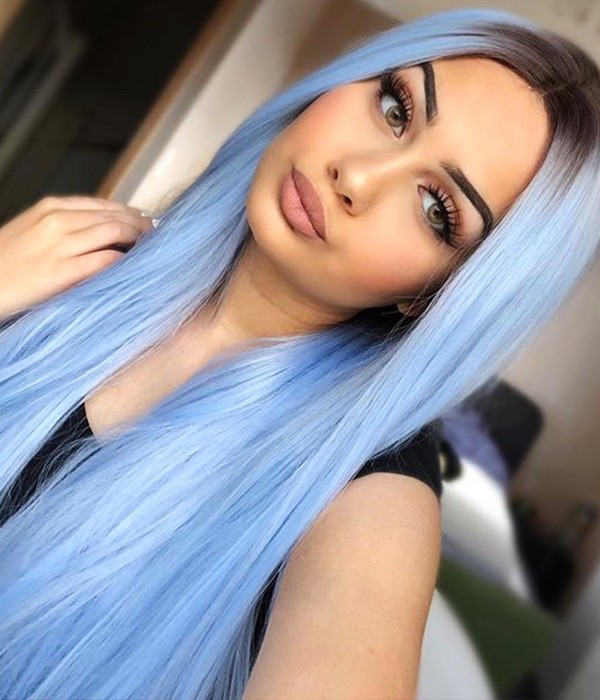
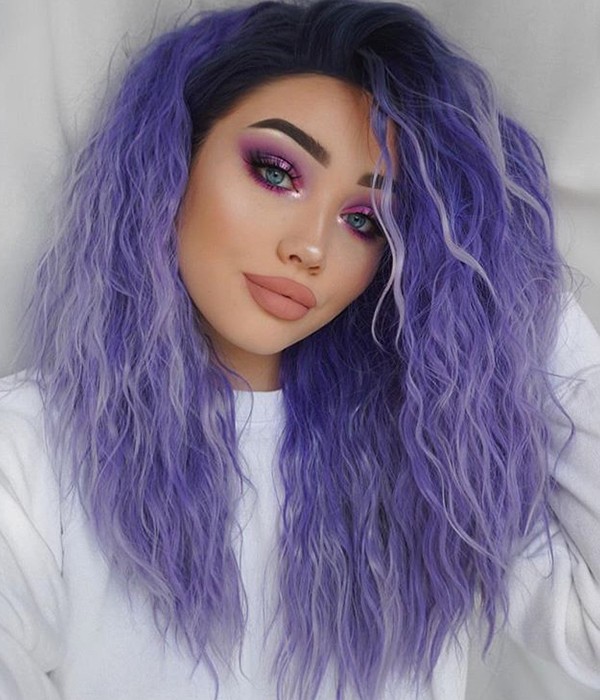
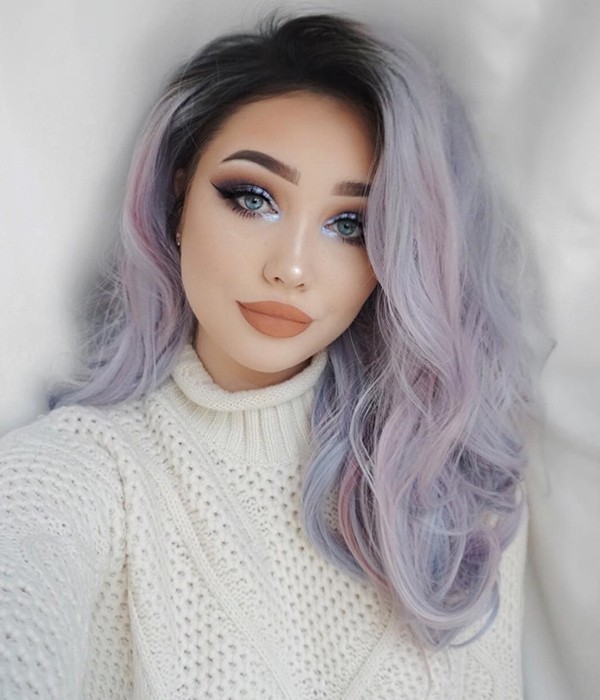
There are multiple ways that Lace front human hair wigs with baby hair can be worn: straight, curly, or wavy. If you can spend just a little time on flat-ironing and styling the wig to step away and see the slicked-down baby hairs curl up again in a flash, then this article is for you and I urge you to take a purposeful journey through it to see just how you can and embrace the baby hair styling inspiration.
Before we discuss about how to cut and style baby hairs on a lace front wig, let’s take a look at basic features about Lace Front Wigs With Baby Hair.

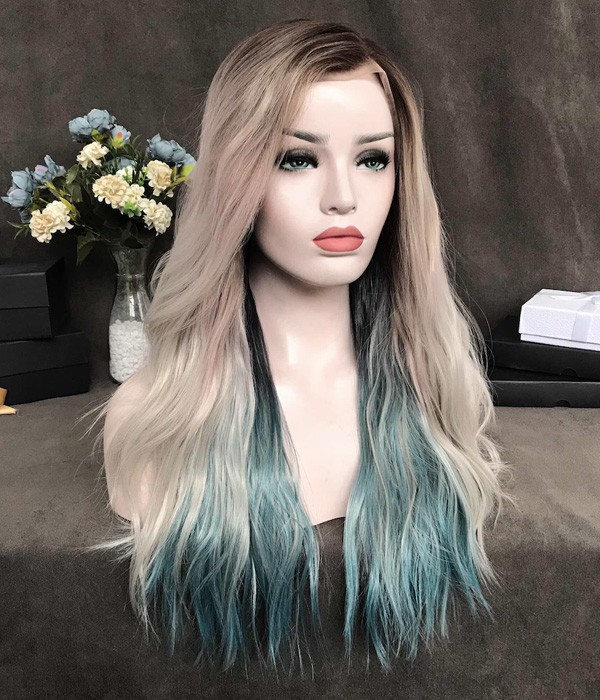
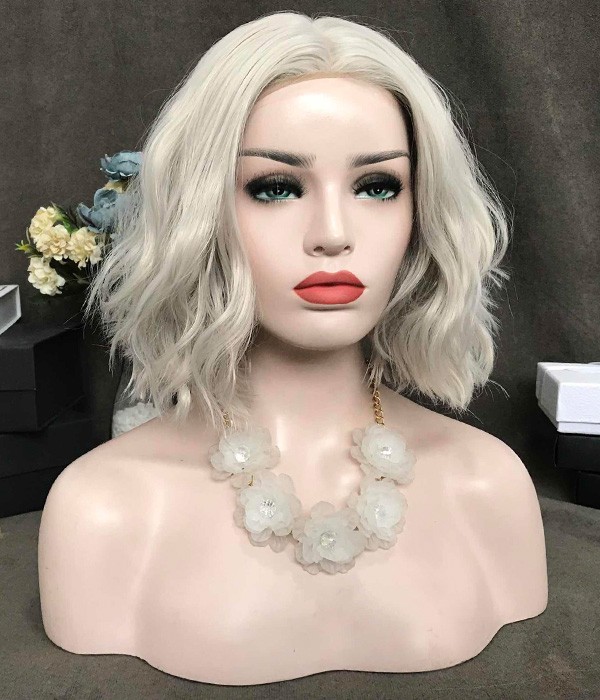
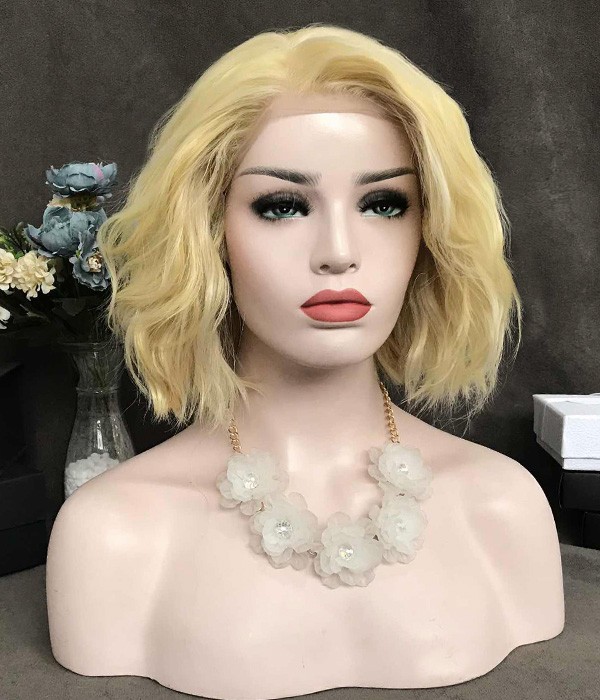
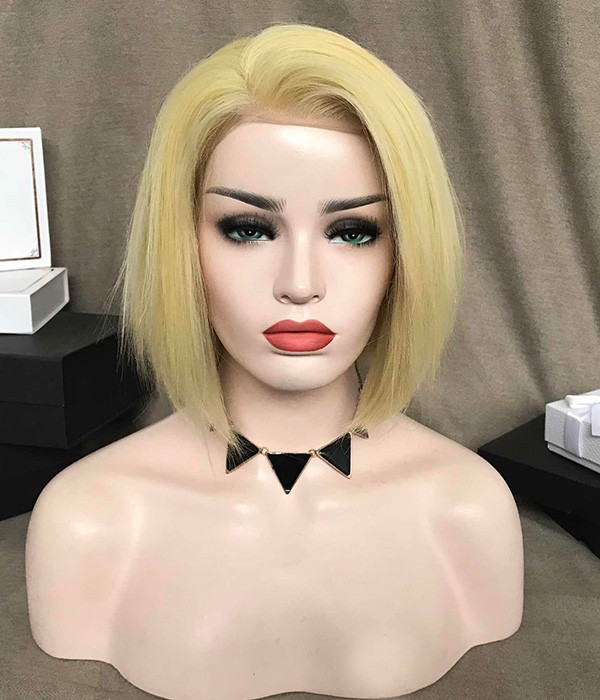
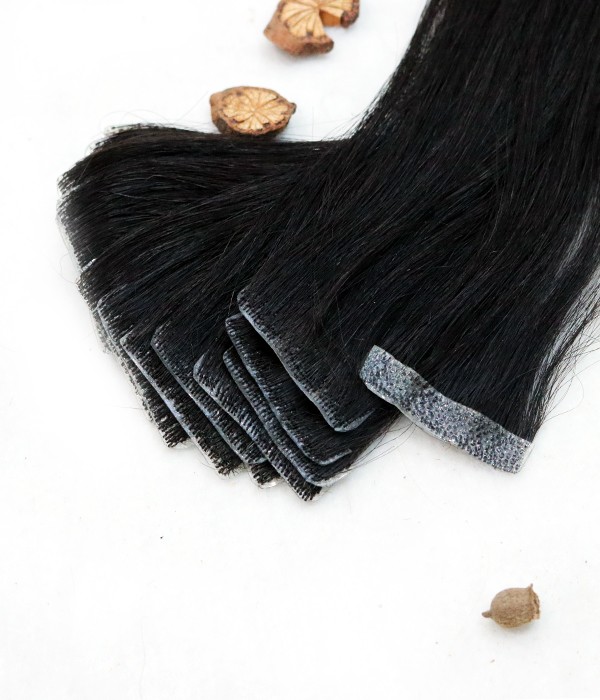
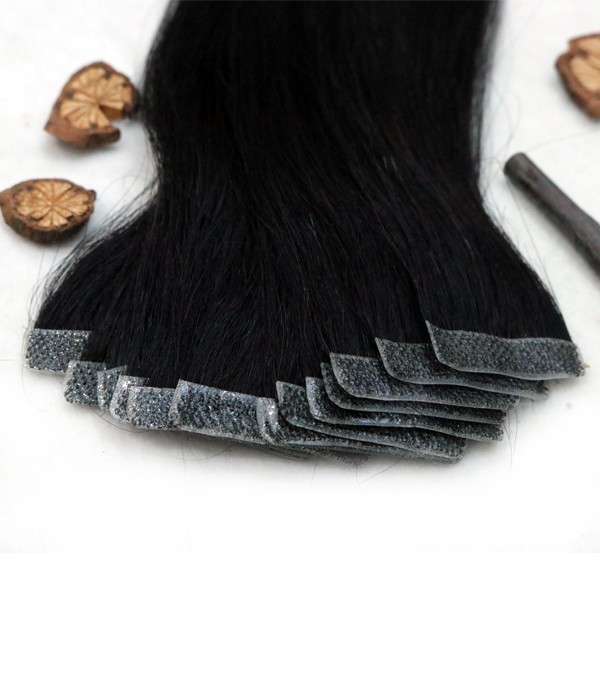
Human hair lace front wigs have a small sheer lace panel just along the front hairline attached to the front of the wig. The hair strands are sewn manually, by hand, into the holes of the lace. They are often made of the highest quality Indian, Peruvian or Brazilian Remy Hair. Human hair wigs lace frontal can be colored, permed, and styled just like our natural hair. Lace front human hair wigs come in a variety of textures, which allows you to find the the right texture that matches your natural hair, to give your hair that original look. Human hair wigs can last a year or more, even when worn daily, if care for properly.

baby hair
baby hair

Lace front human hair wigs are made with a few baby hair to help create the illusion of natural hair growth along the hairline. This illusion generally improves the natural appearance of the hair and enables the wearer to style the wig away from their face, concealing that they are wearing a wig. It’s very easy to wear lace front wig because they are stretchy and they cover the entire scalp area with a natural looking hairstyle.

How can you therefore style bay hair on a lace front wig?
To begin, here are the items that you need:
• Lace front human hair wig
• Scissors
• Comb
• Brush
• Hairspray
And now, the processes.

Step 1: Cut the Lace
The first step to take when styling baby hairs of a lace front wig is to trim the excess lace on lace front wigs that hangs over the forehead with your scissors. This will give it the most natural look. Cut off about a quarter-inch of the lace all around the front and sides of the wig. The best method is to cut away small portions of lace instead of all of it at once, because cutting off too many lace may damage the wig. You have to do the cutting with long, fluid scissor strokes to avoid jagged edges. This step is very delicate and therefore, requires a steady hand, a good pair of scissors, and a lot of patience.

Step 2: Define the Parting
Herein, clip the hair on either side of the center-marking. Clip backwards using the two large hair clips. Then, use a fine-toothed comb to create a parting on one side of your wig. Afterwards, blow dry your hair up and away as you comb to create fine definition in the parting. When your hair is dry, keep on combing, until the parting is becomes very neat and the separation is reinforced.

Step 3: Water the Baby Hairs
Baby hairs should be completely wet to style them. Use a spray bottle containing water to spray along your hairline. Or use your hand to sprinkle water onto your hairline, if you don’t have a spray bottle.

Step 4: Use a Blow Dryer to Hot Dry the Baby Hairs
After wetting the baby hairs, the next step is to blow dry with hand blow dryer. To achieve a fine result, start the process by holding a section of your damp baby hair between your index and middle finger, about 2 inch from your hairline. Thereafter, pull your hair out and blow dry for about 3 seconds. Then blast them with cool air for 3 more seconds. Baby hairs are very fragile, and that’s is why you have to alternate between hot and cool to help protect frail hairs from burning.

Step 5: Set the Baby Hairs with Hairspray
To set the baby hairs, first, spray the hairspray on a soft-bristled toothbrush and then gently brush the baby hairs horizontally against the hairline. You can also do this with a styling cream or edge control ge. Finally, spray a little of the hairspray on any of your fingertip and then, smooth it over your baby hairs.

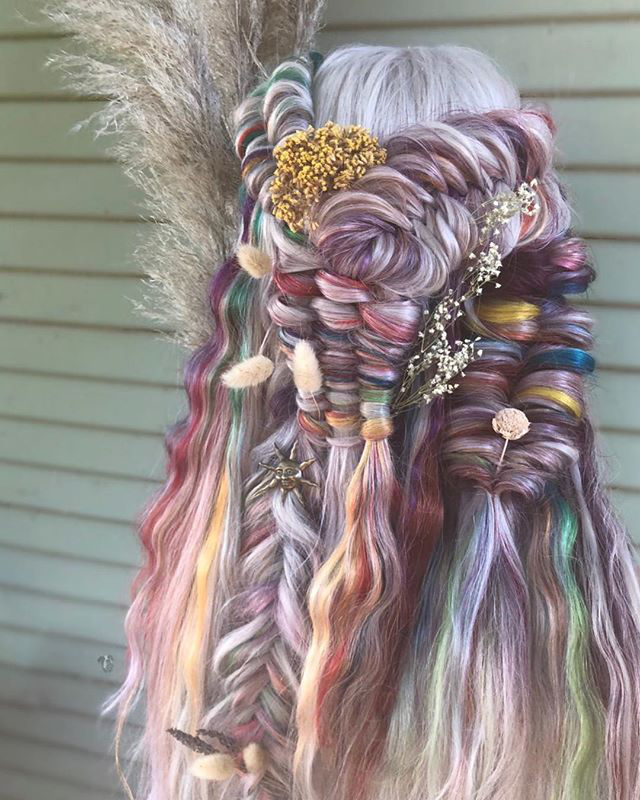
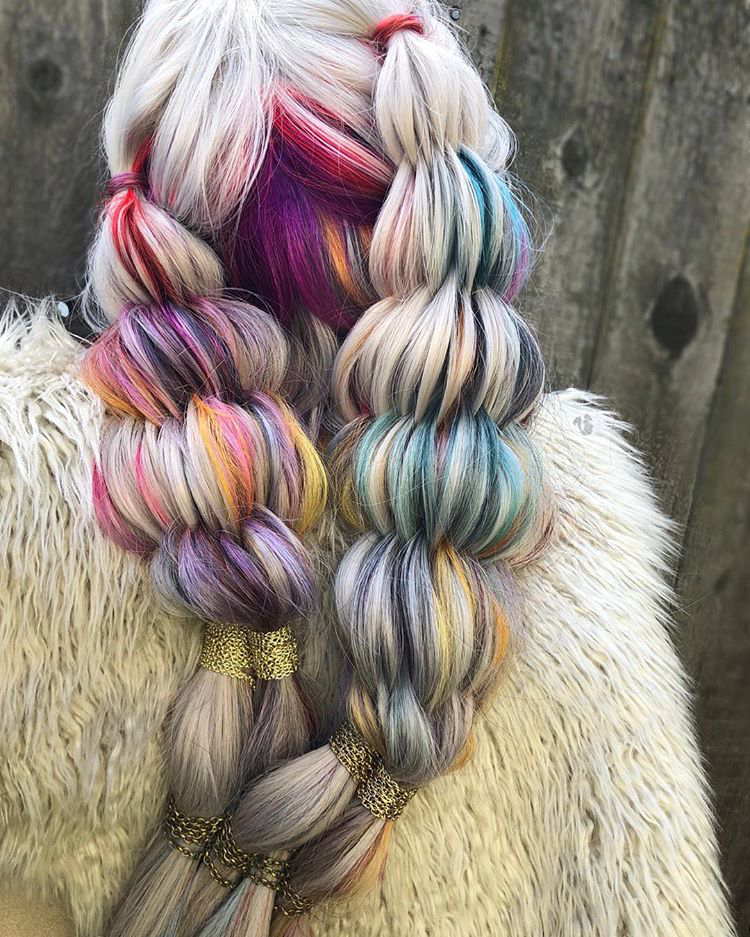
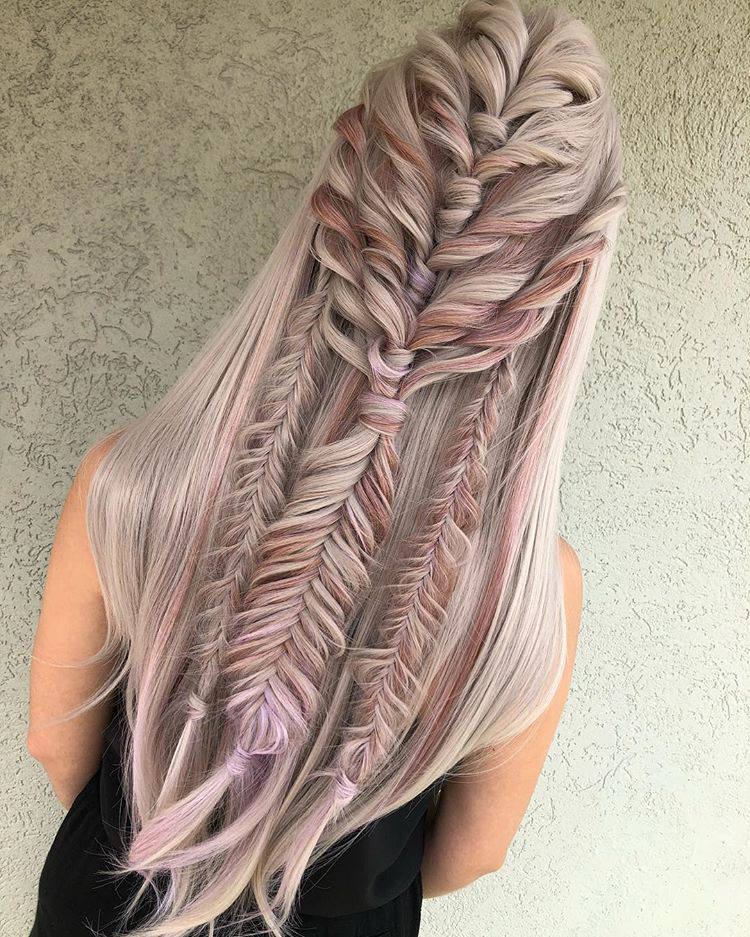
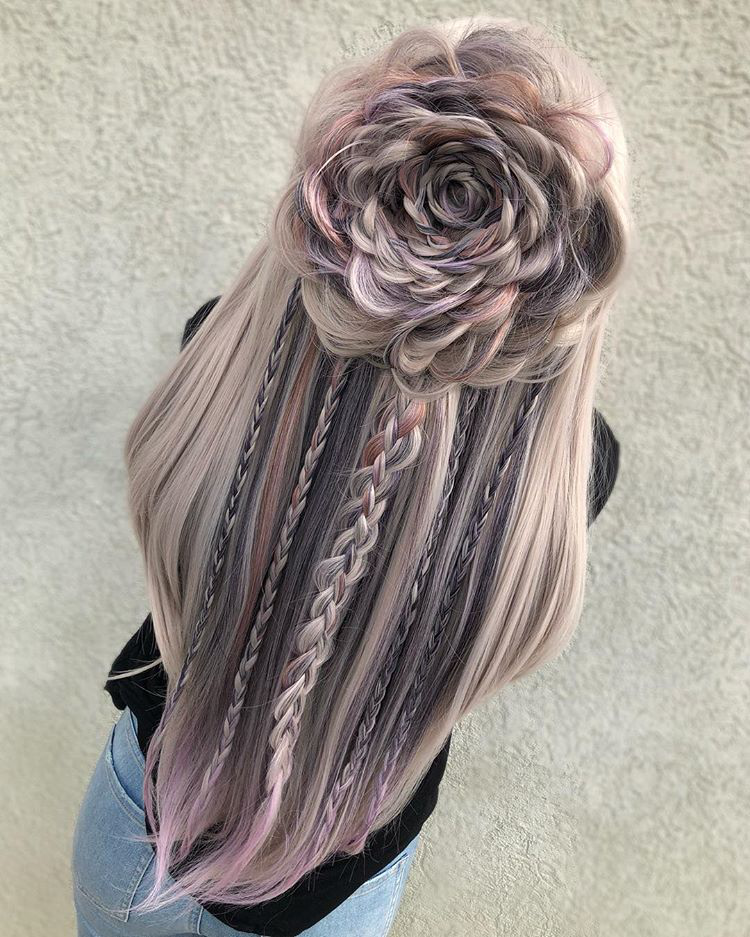
Tips To Create Different Baby Hair Looks
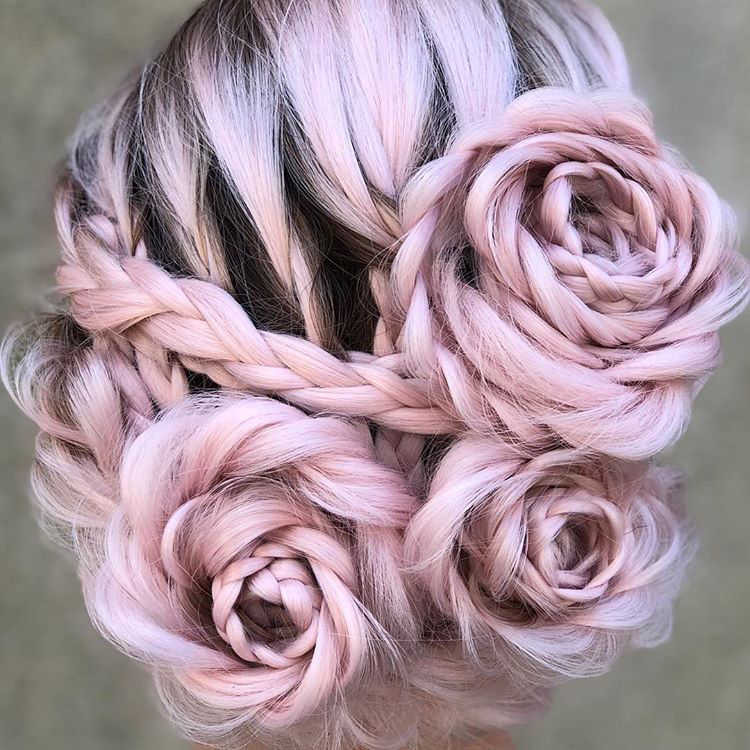
When it comes to hair and wig styling, creativity is always in play, and creating art with your wig edges is one of favorite parts of the hair styling routine.The designs and patterns of the edges can impact our minds and overpower the look of a hairstyle. The appearance of your baby hairs greatly impacts the entire look of the hairstyle. The aesthetics means a lot. Therefore, knowing how to beautifully style your baby hairs is very important. Here are some tips that can you lay the edge of a lace front wig excellently and to create different unique baby hair looks.

Tip 1: Slick Short Baby Hairs Straight Down
If you want to create a short baby hairs along the front of the edge of a lace wig, you can do it by using a gel or hairspray and then slicking the baby hairs straight down. They’ will form bangs but will look beautiful.

Tip 2: Slick Short Baby Hairs Down into Waves
To create this style, start at the front of your hairline, using a comb to make a small part in your hair about 0.25 inch backwards to your temple. Separate the hair strands on the part and apply some hair gel on them. Then use your fingers or a fine-toothed comb to shape them into waves. This works better if the hairs around your hairline are short, but a long hair can still look good.

Tip 3: Create Baby Hairs into a Fuzzy Halo look
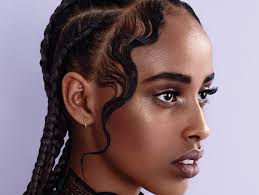
For this style, sprinkle a hair powder on the top of your hair, while gently lifting your hair up from the roots. Then move your wrist along your hairline in a circular motion. Your baby hair should frizz up. This style can soften your features and complement many hair styles.

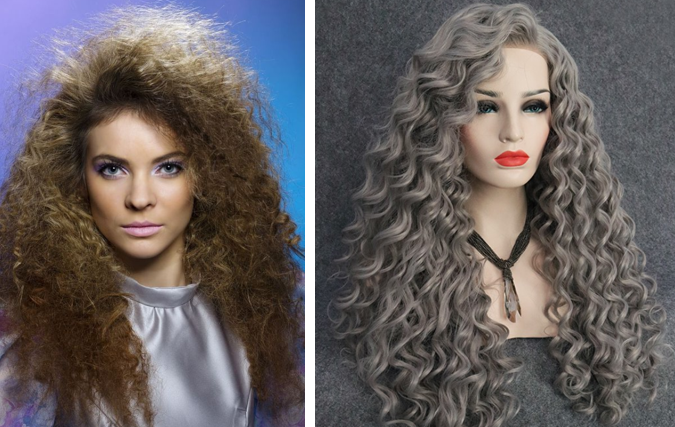
Tip 4: Create Curly Afro Baby Hairs
For this style, work the baby hairs at the front of the wig edge, using a gel (just s small quantity). Then gently wrap the baby hairs around your fingers and gently let go to create the curls.
You can even use a small curling iron to create this style, but you have to be careful so that you don’t hurt yourself in the process. If you are using a curling iron, then you won’t need to apply gel. But ensure you don’t burn or damage the baby hairs, if you are using a curling iron to style, because of their very delicate nature.

Fourth of July Hair Trend: Keep Your Hairs Varied and Popular

Would you like walk in the time machine and return to your mother’s era? To see the popular hair style on your mom, born with her, grow up with her and then become her.

1. 70’s Hair Style
The Magical Synthetic Lace Front Wig is a representative 70’s wig, it has the feathered look, when you wear it, your mother may think of her childhood. This look was popular by actress Farrah Fawcett, who stepped out in the soft, feathery hairstyle on the set of Charlie’s Angels. The style includes mid-length and long hair, brushed back and outward at the sides, just like the feathers of a bird. This hair style was worn by most of people on at era, celebrities or not, and its influence can be given expression to contemporary hair styles.

2. 80’s Hair Style

The Grey Kisses wig is popular on your mother teenager’s time, explosive curl shows the unique personality on your mom. The 80’s own the big, a lot of curl locks on people, often in groups of long, curly hair, almost the huge hair was everywhere. If you mom has taken a few hours at the salon to get the perm? And the Los Angeles appearance hair gel and the Australia hair spray were key to up the perfect that made your mom’s hair as sticky as the jackfruit

3. 90’s Hair Style

Refer to the 90’s hair style, may you first think is the Rachel Hairstyle, who took on the role of the popular TV show, Friends, she inspired millions with her unique full hairstyle that came to be known as “The Rachel.” But actually, the Goldilocks – Short Straight Version is also the typical 90’s hairstyle, in this period of time, you may born in the world, if this short hair is your child memory? After a transitory volume hair trend during the 80’s, famous person began avoid the mega-curls and perms of the 80’s like, and instead choosing extraordinary long, straight locks. Also, the use of straightening irons became a standard part of your mom’s hair routine in order to achieve the sleek look.

4. 2000’s Hair Style

The 2000’s was an excellent period of time for hair styles. There are so much hair experimentation with the color, curls, or the bangs. If your mother didn’t have one of these kind of hair styles in that day, she will definitely knew someone who have this hair style and may jealous of them. And the Black Pearl is always worn by the cool moms on the 2000’s. No matter you loved your mom or hated her, this hair will likely always be imprinted in your memory.

We can imagine that you wear one wig with the clothes that your mom wore before, and then show up surprisingly, your mother will confuse and think if she backed the life that she grown up. Just think about it I have laughed out.

Find your fashion wigs → https://www.uniwigs.com/101-synthetic-wigs

Add color to your hair with rainbow wigs this summer!

Summer is a best season to do a hair color switch – up. Most of people lean towards going colorful brighter colors as their first choices, and rainbow hairstyles has became to a new trend in recent years. However, here’s a dilemma that people who’s wanting for a rainbow hair may confront with, and it always result in hindering people to do so – going for a brighter hair color means we have to bleach our own hair and bleaching is a damaging but necessary process if we want to get our hair tinted well.

rainbow wigs
rainbow wigs

Wearing a wig can be considered as a perfect way to protect your natural hair. You can create tons of beautiful shades and achieve your dreamy hair effects on a good quality human hair wig instead of damaging your own hair!

Here, we’ve laid out the latest summertime hair color options to make colorful rainbow style a breeze. Whether you’re a soft pastel neon type of person, or a bold bright vivid rainbow one, we’ve got your inspo sorted.

rainbow human hair wigs

1. Trippy Rainbow- Created by @kayla_boyer using Chloe – Remy Human Hair Lace Wig

“I love this because it’s so bold and different.. before I started coloring this wig I had so many different ideas but I wanted it to be a bold statement. It looks so cool when it’s because held in different ways”.

Blue Ombre wigs
Blue Ombre wigs

2. White Platinum Blonde. Pastel Unicorn. Lake Blue Dip. Blue Ombre.

@janna_niki create 4 different beautiful shades on the same one Chloe- Remy Human Hair Lace Wig

Watch full version to learn how she did this incredible job!

3. Lavender Ombre

Tutorial Time:
Get the same lavender Ombre wig step by step with @victorialoopz by using Chloe- Remy Human Hair Lace Wig

Comment down below let us know what your favorite rainbow color is and which hair color above is your favorite.

Further Reading: 

21 Wedding Hairstyles Ideas with 4 Synthetic Wigs

21 Wedding Hairstyles Ideas with 4 Synthetic Wigs

What’s a wedding if not romantic? And what’s a more fitting finishing touch than one of favorite romantic wedding hairstyles?
I’ll show you some wedding hairstyles with our synthetic lace front wigs. Hoep you can get some inspiration!

Star Lace Front Wig

Infinity Braid Updo
Infinity Braid Updo

1. Infinity Braid Updo

Bohemian style
Bohemian style

2. Bohemian style

Two bundles of bushel braids

3. Two bundles of bushel braids

Best braids hairstyle

4. Best braids hairstyle

Wedding flower
Wedding flower

5. Wedding flower

Boho braids
Boho braids

6. Boho braids

Magical Mermaid Lace Front Wig

Braided bow
Braided bow

1. Braided bow

Braids & glitter
Braids & glitter

2. Braids & glitter. Such a good combo for wedding season

Kriss Kross
Kriss Kross

3. Kriss Kross will make you jump jump.

FISHTAIL seashell updo

4. FISHTAIL seashell updo

Boho vibes
Boho vibes

5. Boho vibes

Dusty Rose Lace Front Wig

Bouquet of flowers for wedding day

1. Bouquet of flowers for wedding day

Boho braids hair
Boho braids hair

2. Boho braids

Pink Diamond
Pink Diamond

3. Perfect style for a Pink Diamond wedding!

Garden Trellis Updo
Garden Trellis Updo

4. Garden Trellis Updo

Pink haired girl
Pink haired girl

5. Pink haired girl

Basic 3 strand braids

6. Basic 3 strand braids & fishtails

Coco Lace Front Wig

colorful wigs
colorful wigs

1. Colorful wigs with pink, purple and sliver

bridal
bridal

2. Pop some baby’s breath in it, and make it bridal.

New bridal hair trends

3. New bridal hair trends for 2019.

Mermaid hair
Mermaid hair

4. Mermaid hair don’t care!

Go check our 2019 Wedding Season event and share your beautiful wedding hair with us: https://www.uniwigs.com/wedding-season-event

One Wig Two Styles – UniWigs Trendy Wigs Unique Design

Girls love UniWigs trendy wigs because we are always the fashion leader for colorful wigs by keeping update new design wigs every month. You can search for our official Instagram channel @UniWigs to find how girls love us. Recently, we began to update “one wig in two hair styles” for girls who want a curly hair but don’t know how to curl a straight hair or don’t dare to.

Find all of them in one page: https://www.uniwigs.com/40459-trendy-wigs

Details about UniWigs blonde wigs

I’ve got tons of wig review requests about UniWigs. I haven’t even loved every single wig but I have tried a few of them. They are a great company and they made really high quality products. This is my newest one. I’m so excited about it.

It is super glam blonde lace front wig. I want to give you guys a slay this summer. I’m going to give all details and show how I install this wig, what I did to my natural hair underneath and how I lay the perimeter of it.

Before I show you how to put on this wig I want to give you guys the specs of this wig. This is a 22 inches synthetic lace front wig. It is light beige blonde color. This is a 200% density wig, which means that basically there’s twice as much hair on this wig than the average wig. You can get more hair and a nice thick wig.

blondie
blondie

I’m going to explaining the whole process of how I prepared my natural hair. My hair is getting longer so I just make two little pigtails. This is the easiest thing to do since I don’t know how to cornrow still and it’s fast, simple and actually works. My hair is getting longer now so I have more and more hair to try to fit up under my wig and still make the wig lay flat especially when I do a straight middle part wig, you need your natural hair to b laying as flat as possible across the top. Otherwise the wig will not look great. All I prepare my natural hair is wash it, condition it with whatever you want to wash your hair. Make sure you use something moisturizing. Let your hair be nourished ad moisturized under your wig so that your hair can grow while you wear a wig

I have my wig cap. I like to use a wig combination of wig caps depending on how and what I’m doing. I have the net cap and sock cap. I use net cap when I wear glueless method because it allows me to stick the comb through the net and into your hair.But since I will do the glue method and I’m going to secure it around the perimeter rather than really rely on the comb going to my hair. I like to use the stock cap.

sunshine-synthetic-lace-front-wig

The next main ingredient to clean all wig should not be surprise to anybody who wears wigs or frontals. It’s got2b glue. I will apply just a little bit on my edges. After I did my makeup they start frizzing a little bit. The glue really helps to split down your edges before you put on your wig that way everything is pulled back out of the way and you don’t have to deal with it. It lays nice and flat under your wig cap. I also slap a bobby pin to help dole it down.

I put the wig cap pretty low at first to get it on there. Basically I crisscross my braids and tuck it in. I try to flatten it out and scoot it down. It also helps if your natural hair is damp. My hair is still damp from washing it earlier. 

It is a synthetic lace front wig. It has huge lace where the hairs are hand tied off the lace. It’s in the very back of the wig where there are actual tracks. It also has two combs on either side of your head, which helps a lot if you are doing any type of ponytail or high bun. There is also an adjustable strap around the nave of the neck, which allows you t tighten or loosen the whole wig to fit your head perfectly.  

EC1808 Joanna Single Piece Tape-In Remy Human Hair Extension

Single tape-in is a pre-taped and ready-to-apply piece. The easy application of single Tape-in could be either a Color Swatch for an exact color match, or it could be a perfect way to add even more volume or colors to your existing UniWigs Hair.

joanna-single-piece-tape-in-remy-human-hair-extension

Tape-in hair extensions usually regard as “Salon products”. You may go to a salon and you get them installed because this difficult process typically takes an hour to hour and a half to be done. (Of course you can do them by yourself if you educated by some tutorials). The meaning with those is at home care at least, it’s not much. You can wash them like your own hair. Once you get them put on guys, they are set on your hair and they do not come out until you’re ready to take them out or have them taken out. So you can go shower with them, you go to gym with them, all that stuff you can do with those on your head within four to eight weeks. When your actual hair starts growing out, that is the time when you get them taken out and you can have them put right back in. You do not have to buy brand new tape in extensions, and you can use the exact same ones that you have unless you’ve colored your hair differently but you can re-use those extensions which is awesome. All you have to do is go purchase a new extensions tape. The tape is on them is actually a double-sided tape. One side goes in the extension; one side is to be pressed up against your hair. You can only put the new tape on, that way you are not going to buy other units of hair extensions and just your maintenance of every four to six weeks putting them in.

The current colors we have on Joanna: G4(4B),1B,L(T4/14)+(4), G-2(4A),1B, 613, 8-12,14-24,Y-686,6-8, and natural black. Each is 14” and the weight is 3 gram.

Find all of the new update hair extensions in our website.

Hair Loss Story by @AmyOnWigs

As I hung up the phone, a wave of dread overtook the perfect joy I had just experienced. My oldest son had called to let me know that he planned to ask his girlfriend, his soulmate, to marry him. All mothers pray for this moment-that their children will meet the right person to share their life with. And, I was beyond thrilled about this news. Visions of a perfect wedding flashed through my mind. Suddenly, they stopped abruptly on my head-my hair, actually. I couldn’t see the beauty of the bride and groom. I only envisioned the wedding photos and how I would ruin them with my messed-up hair. That was the way I saw myself-a balding photobomber who ruined every photo, every video. This moment that should have been celebrated turned into panic.

Over two decades ago, about 18 months after the birth of my second son, I began dealing with permanent hair loss. Most women experience hair shedding after they deliver a baby due to changes in their hormonal chemistry, but that gradually reverses itself and they regain any lost hair. It’s not permanent. However, that wasn’t the case for me. My hair just didn’t stop shedding, and what came out never returned. So, I went to see my OB/GYN and she referred me to a connective tissue specialist for an appraisal of my condition. The doctor took a scalp biopsy and told me that I had Androgenic Alopecia-a genetic or pattern baldness experienced by both men and women. It is inherited from one or both parents and can be triggered by hormones at any time after puberty. Hair is lost at the front, top, and the crown of the scalp. The hair loss can vary from thinning to complete baldness. It is estimated that around 50% of women over the age of 65 experience female-pattern baldness.

liz by lavivid
liz by lavivid

Now knowing that I had Androgenic Alopecia, I had to slowly come to grips with the fact that most of the hair I lost wouldn’t be coming back. I stopped coloring my hair because I could see that the chemicals in the hair dye caused me additional issues-weakening the hand strands and creating more fallout. Having a fully gray head at that age left me looking older than I was and older than my friends. But, I just didn’t see any other alternative. I struggled to style my progressively thinning hair, pulling it back in a sparse ponytail for many years and wearing fabric headbands to hide my thinning hairline. Yet every day, I knew it was getting worse, and I wouldn’t be able to camouflage it any longer.

As it turned out, the engagement announcement was the moment that led me to search for a resolution to my problem. Hitting YouTube hard, I watched dozens of videos about hair loss, which led me to wigs and wig review videos. Seeing that wigs were NOT the sweaty, molded-cap designs they were in years past, I started to entertain the idea of purchasing one. Certainly, I would have to do it quickly if I was going to find a wig and get used to wearing one before my son’s wedding. I purchased my first wig. I immediately fell in love with her, and she was in a price range that seemed reasonable for a first wig. The day she arrived, I was SO nervous! What if I looked terrible in a wig? I would have to attend the wedding and find places to hide to avoid the photographer. I know that sounds so vain, but women count on their hair to create their look. Without it, you have to redefine your identity. It’s not easy to do without your hair!

Wearing a wig to my son’s wedding gave me courage and built back up the self-esteem I had lost so many years ago. I got many compliments on my “hair,” and when the wedding festivities were over, I was ready to add to my alternative hair collection.

That’s when I discovered Uniwigs, specifically the LaVivid Collection. I began wearing LIZ, a short bob with silky Kanekalon fibers. Her color, Java Shimmered, was simply gorgeous! It looked like I had just walked out of the salon with a new haircut, color, and highlights! I also own Natalie in the color Shadow Chestnut, and I adore her too!

It is amazing to me how something as easy as wearing a wig can boost a person’s self-confidence so greatly. I only wish I had known how incredible this was going to feel years ago, not having to suffer so long.

Amy Johnson, AKA @amyonwigs on Instagram, runs a group called Wig Wisdom on Facebook with her close friend @crazywiglady. They focus on educating and supporting women who are experiencing hair loss. You can also find Amy’s YouTube channel at: www.youtube.com/amyonwigs, which is also full of helpful videos for new and experienced wearers of alternative hair.

back to school sale 2018

By the way, it’s time for Back to School Sale now, all of the wigs are 25% OFF at UniWigs.com, save your money with code BTS25. This will only last for 4 days, don’t miss them.

How to dye a synthetic wig

Dying a synthetic wig is very different from dying human hair wigs. Dying your synthetic hair wig in a correct manner is like a dream come true. While dying a hair wig, it is usually advised to have all the right materials on hand to ensure the process goes relatively smoothly. This also applies for dying a synthetic hair wig.

So what will you need?
1.Synthetic Wig that is heat resistant.
2.Fabric dye of your choice.
3.A flat plastic comb.
4.Pot and stove.
5.Old clothes maybe.
6.A pair of surgical (latex or rubber) gloves.

how-to-dye-a-synthetic-wig

So, what are the steps to dye a synthetic wig?
1.Set up your Wig Stand on a dry, newspaper-covered, flat and stable surface. The dyeing process may be really messy, so it’s best to choose an area that’s far away from any valuables.
2.Place your wig on the Stand and put on your gloves. Put on an old outfit that you don’t care about in case some of the dye gets on your clothing.
3.Mix a 1:1 ratio of alcohol-based ink and water in a spray bottle. If you’re wanting to go for a more translucent pastel shade, such as mint green, you can add more water.
4.The original color to a large degree determines the result. White or blonde synthetic hair is quite easy to dye compared to much darker colors. But dark synthetic hair cannot be dyed to a lighter or white color. Therefore, choose a wig that you want, as long as it’s a light color, such as white, light blonde, silver, or a pastel shade.
5.Start by dyeing the top layer of hair that’s visible when the wig is parted naturally. Take your spray bottle and spray your dye 3-5 times in a single area to coat a section of about 2-3 inches (5.1-7.6 cm) wide. Dig your fingers into the root area and wiggle them from side to side as you bring them down through the hair. Run your hands through the section 2-3 times to ensure that it gets completely coated.
6.After you’ve sprayed every section of hair with dye and tried to spread it out as much as possible with your hands, the hair may still not look completely uniform. To finish evening out the dye application, use a wide-tooth comb to comb through the hair from the roots to the tips all the way around the head.
7.After you’re done dying your wig, set it outside somewhere in the sun and let it dry completely. This usually takes about 2-3 hours, but may take longer if your wig is especially long or thick.
8.Once your wig feels dry to the touch, take it to a sink and turn on the water. Rinse your wig until the water in the sink is completely clear, and no longer has traces of the ink color.
9.Detangle your wig with a wide-tooth comb. Spray the wig with a synthetic hair conditioner, which you can find at your local beauty supply store.

Some of the tips are from Wikihow.com. Hope these tips can help you achieve your dream of dyeing a synthetic wig to a cool fashion color.

50% OFF All Trendy Wigs for 2 Days!!!

Big News! The day has finally come! This is really just a one-time event every year! Now we have hit 250K on Instagram!! Thank you for your all continuing support for UniWigs.com. We couldn’t have gotten here without you. So…. here’s what we want to do to reward your love: Give you 50% OFF for all UniWigs Trendy Wigs! With Code:INS50. This offer is valid till July 19th 10:00 PM EST.

instagram
instagram

See what girls have said on Instagram about this big sale:

“Omg thanks!!! Been following for a while and I’m definitely going to order some lace wigs!!!”

autumn-twilight-silk-straight

“Just bought Autumn Twilight!! And I will buy the Magical Mermaid since it’s the most expensive one that I couldn’t afford before.”

magical-mermaid
magical-mermaid

Although green wigs are not as commonly used as blonde or black wigs, nothing is as impressive with various kinds of green hair as this Magical Mermaid wig. Why should mermaids have all the fun? Because they are the freely-swimming sea creature in the deep blue and green sea. Go for Seafoam Green hair that fades out to a soft Mint green shade and see if you’re not ready to live a life under the sea.

So which one is the best-seller among all those in the trendy wigs collection? It’s hard to say, since color trends change all the time. Almost all of them have a hot sale time that varies as much as the color of the wigs. So, what are they? Here we have provided a collection of all of the wigs which have been NO.1 sellers. Hope these pictures can help you to decide which one to choose in this big sale!